


Overview
Makey Makey Classic
Products
Grades 4–10
Grade Level
45 minutes
Time Required
Maker Class
Category
Difficulty
CSTA Standards
CCSS Standards
Take apart an electronic toy and hack it with Makey Makey! Learn about momentary switches inside toys and create new ways to activate them using conductive materials.
Learning Goals
- Safely disassemble an electronic toy to examine its circuit board
- Identify momentary switches and their contact points
- Connect Makey Makey to a toy's existing switch contacts
- Redesign how the toy is activated using creative materials
Materials & Preparation
Materials Needed
- Makey Makey kit
- Alligator clips
- Electronic toy with buttons (dollar store toys work great)
- Small screwdriver set
- Conductive tape or foil
- Craft materials
Preparation
Collect inexpensive electronic toys with buttons. Test that toys work before class. Have screwdrivers ready. Review safety rules for disassembly.
Build Activity — Step by Step
Choose Your Toy
Select an electronic toy with buttons that make sounds or lights. Test it to make sure it works before hacking!
Open It Up
Carefully unscrew the toy's casing. Locate the circuit board inside and identify the button switches.
Find the Contacts
Look at each button on the circuit board. You'll see two metal pads — when the button presses a conductive rubber dome onto both pads, the circuit closes.
Connect Makey Makey
Use alligator clips to connect one pad to an input on Makey Makey and the other pad to EARTH. Now Makey Makey can trigger the toy!
Hack the Interface
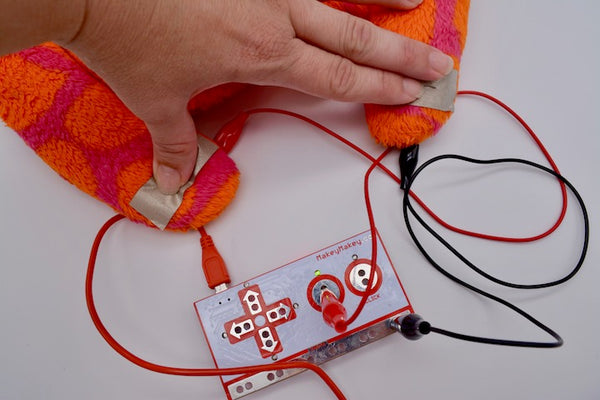
Instead of pressing the toy's original buttons, create new triggers: banana buttons, drawing switches, Play-doh pads, or foil touch sensors.
Assessment
Students present their hacked toy with the new interface, explain how the original switch worked, and demonstrate the new interaction they designed.